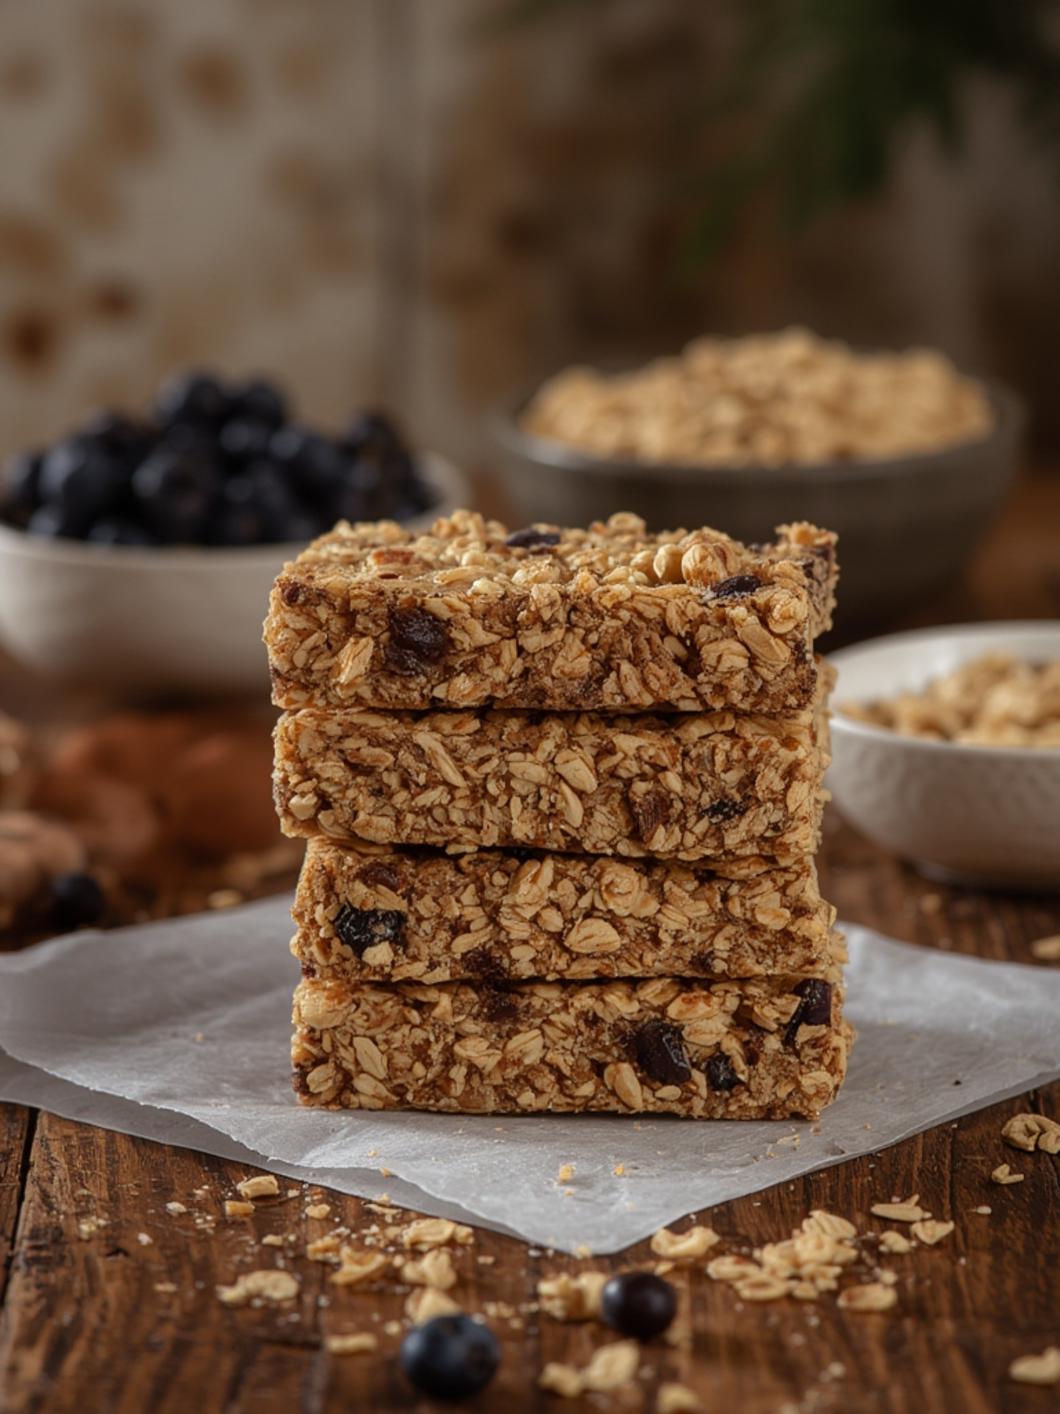
How to Make Granola Bars in 5 Simple Steps
Making your own granola bars at home can be a fun and rewarding experience, especially when you can customize them to your tastes. These delicious, energy-packed snacks are perfect for on-the-go munching, post-workout refueling, or simply enjoying with a cup of tea. In this recipe, I’ll show you how to make homemade granola bars in just five simple steps. They’re not only tasty but also a great option for healthy snacks!
Ingredients & Kitchen Tools
For this easy granola bar recipe, you’ll need the following ingredients and tools:
Ingredients
– 2 cups rolled oats
– 1 cup nut butter (peanut, almond, or sunflower)
– 1/2 cup honey or maple syrup
– 1 cup mixed nuts and seeds (you can use almonds, walnuts, sunflower seeds, or pumpkin seeds)
– 1/2 cup dried fruit (raisins, cranberries, or coconut flakes)
– 1 teaspoon vanilla extract
– A pinch of salt
Kitchen Tools
– Mixing bowl
– Spoon or spatula
– Baking pan (8×8 inch or similar)
– Parchment paper
– Oven
Prep & Cook Time
– Prep Time: 10 minutes
– Cook Time: 25 minutes
– Total Time: 35 minutes
Step-by-Step Instructions
1. Preheat Your Oven: Start by preheating your oven to 350°F (175°C). This ensures your granola bars bake evenly.
2. Mix Ingredients: In a large mixing bowl, combine the rolled oats, nut butter, honey (or maple syrup), vanilla extract, and a pinch of salt. Stir until everything is thoroughly combined. You can adjust the sweetness by adding more or less honey based on your taste.
3. Add Nuts and Dried Fruits: Next, incorporate your mixed nuts and seeds, as well as the dried fruits. Make sure all ingredients are well integrated. This adds more texture and flavor to your granola bars.
4. Prepare Baking Pan: Line your baking pan with parchment paper, letting the edges hang over for easy removal. Pour the granola mixture into the pan and press it down firmly to ensure they hold together during baking.
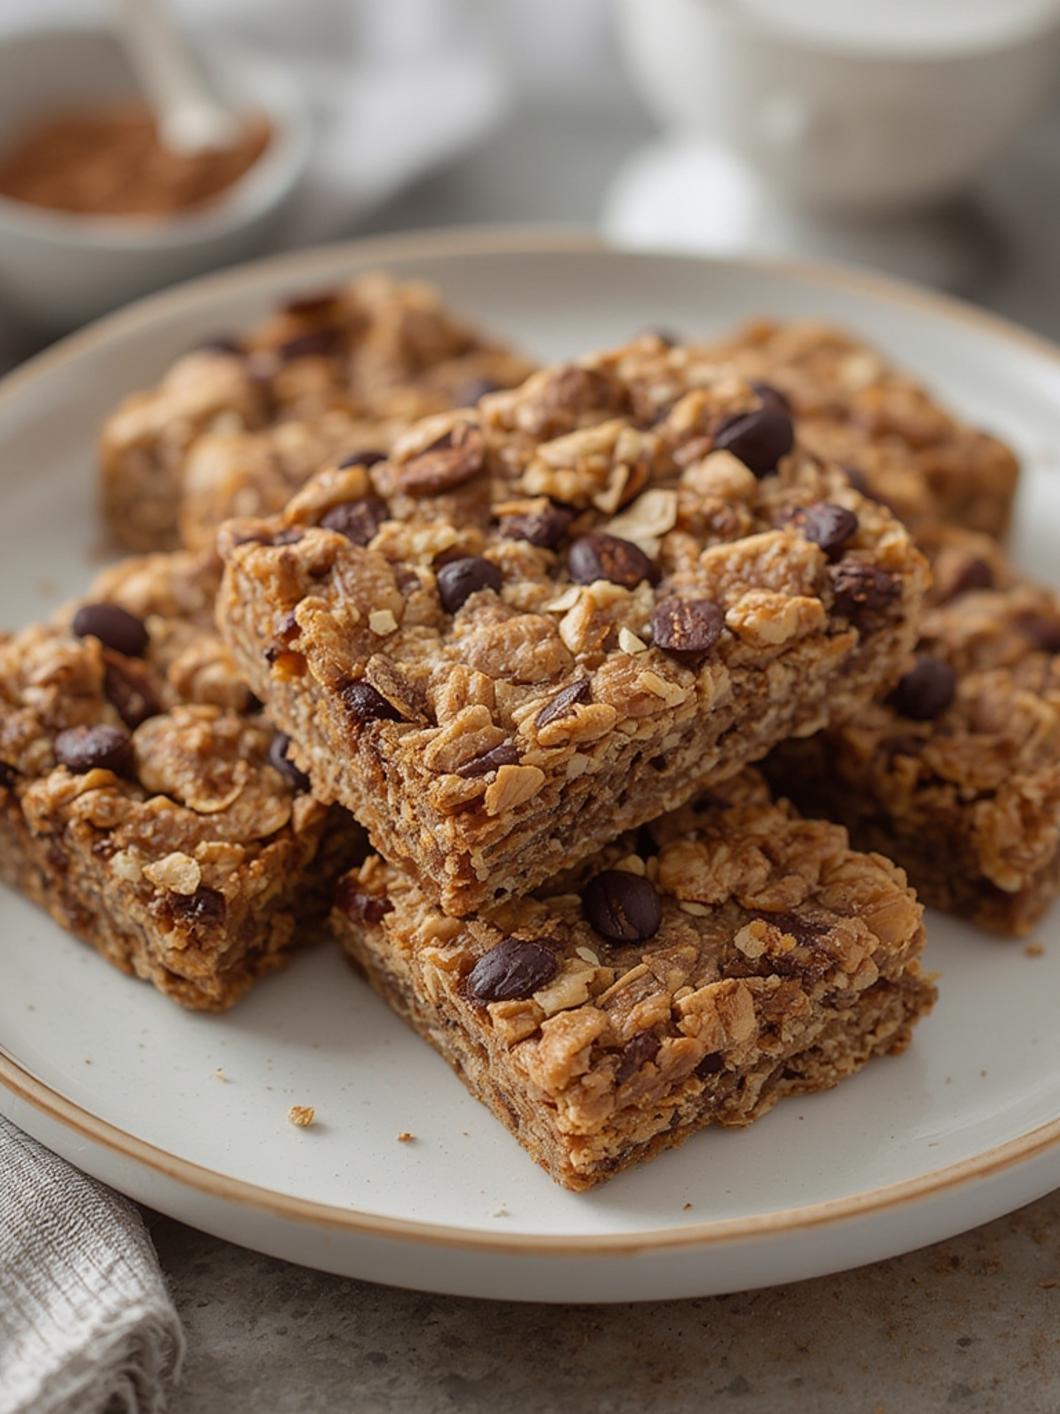
5. Bake and Cool: Bake in the preheated oven for about 25 minutes, or until the edges turn golden brown. Once they’re done, let them cool in the pan for about 10 minutes, then use the parchment paper to lift them out and cool completely on a wire rack before cutting into bars.
Nutritional Benefits or Advantages
These homemade granola bars are packed with nutrients. Oats provide fiber that helps keep you feeling full, while nuts and seeds are a great source of healthy fats and protein. Plus, using natural sweeteners like honey or maple syrup means fewer processed ingredients.
Tips, Variations, or Substitutions
– Nut Butter Alternatives: If you have allergies, consider using seed butters like sunflower seed butter.
– Add-Ins: Feel free to spice it up with cinnamon or chocolate chips to suit your taste.
– Gluten-Free Option: Use certified gluten-free oats to make your bars suitable for those avoiding gluten.
Common Mistakes to Avoid
– Not Packing Mixture: Ensure you pack the mixture tightly in the pan so they don’t fall apart after baking.
– Overbaking: Keep an eye on your bars while they’re in the oven to prevent burning.
Storage and Reheating Tips
Once cooled, store your granola bars in an airtight container. They’ll last up to one week at room temperature or two weeks in the fridge. For longer storage, consider freezing them for up to three months.
Conclusion
Homemade granola bars are a fantastic way to enjoy a healthy snack on the go! With just a few simple ingredients and steps, you can create a versatile snack that fits your dietary needs. Give this recipe a try and let me know how you personalize it. Don’t forget to share this recipe with friends who are looking for healthier snack options!
FAQs
1. Can I make these vegan?
Yes, simply use maple syrup instead of honey and choose a plant-based nut or seed butter.
2. How can I make these bars chewy?
Reduce the baking time slightly and allow them to cool completely before slicing.
3. Can I use quick oats instead of rolled oats?
While you can use quick oats, rolled oats provide better texture in granola bars.
4. What’s the best way to cut the bars?
Use a sharp knife to slice them after they cool; this helps achieve clean cuts without crumbling.