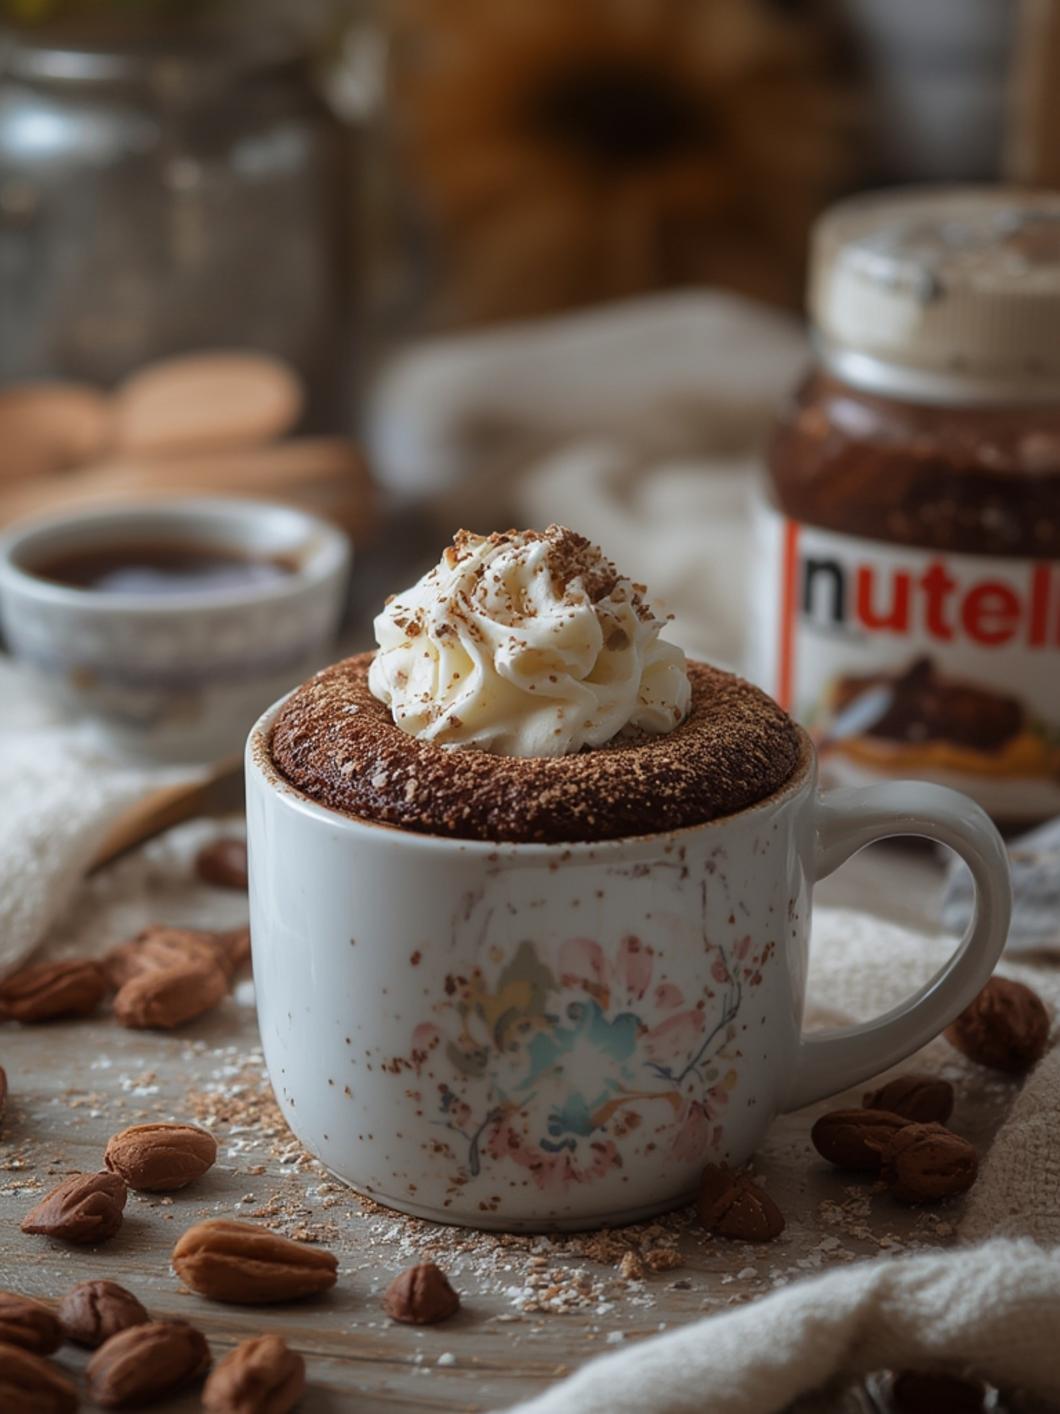
Easy Nutella Mug Cake for a Delicious Quick Treat
Indulging in a warm, rich, and chocolatey dessert doesn’t have to take hours of preparation, and with this Nutella Mug Cake recipe, you can satisfy your sweet tooth in just a matter of minutes! This quick and easy treat comes together in a single mug, making it perfect for those late-night cravings or when you’re entertaining guests with little time to spare.
Ingredients & Kitchen Tools
– Ingredients:
– 4 tablespoons all-purpose flour
– 4 tablespoons granulated sugar
– 2 tablespoons cocoa powder
– 1/8 teaspoon baking powder
– 3 tablespoons milk
– 2 tablespoons Nutella
– 1 tablespoon vegetable oil
– A pinch of salt
– Optional: Chopped nuts, chocolate chips, or whipped cream for topping
– Kitchen Tools:
– Microwave-safe mug (preferably a large one)
– Mixing spoon
– Measuring spoons
– Fork or whisk (for mixing)
Prep & Cook Time
– Prep time: 5 minutes
– Cook time: 1 minute
– Total time: 6 minutes
Step-by-Step Instructions
1. Combine Dry Ingredients: In your microwave-safe mug, add 4 tablespoons of all-purpose flour, 4 tablespoons of granulated sugar, 2 tablespoons of cocoa powder, 1/8 teaspoon of baking powder, and a pinch of salt. Stir well to ensure all dry ingredients are evenly mixed.
2. Add Wet Ingredients: Next, add 3 tablespoons of milk and 2 tablespoons of Nutella to the dry mixture. Also, include 1 tablespoon of vegetable oil. Use your fork or whisk to mix everything until smooth and there are no lumps. If you want to add some extra chocolate chips or nuts, now is the time!
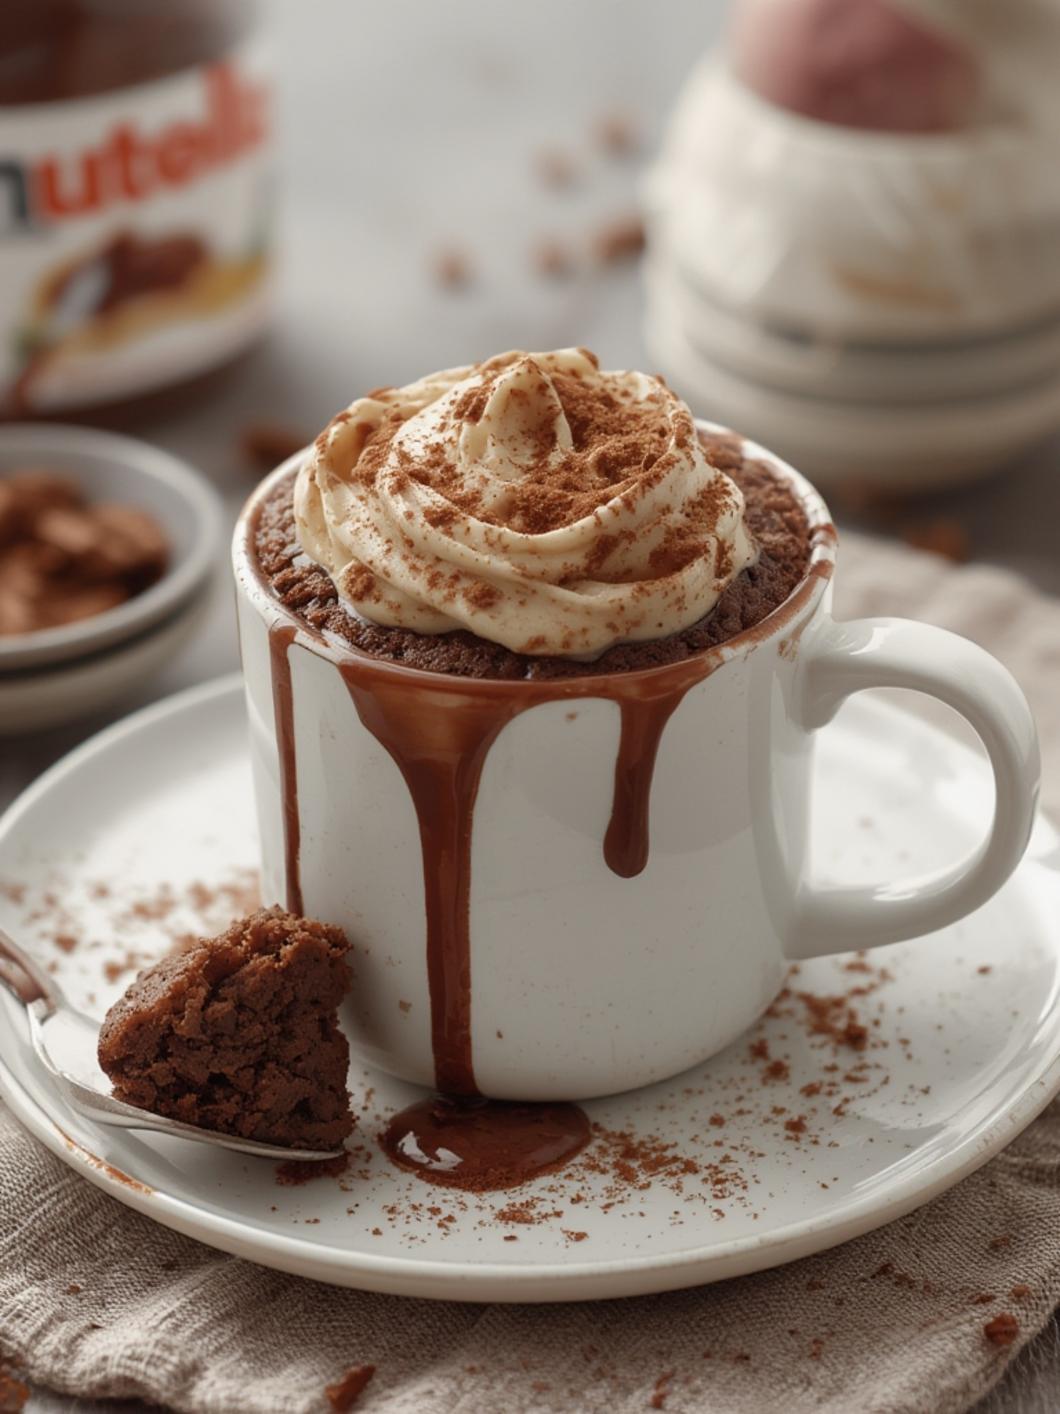
3. Microwave It: Place the mug in the microwave and heat on high for about 1 minute. Watch closely as it cooks—microwave power can vary, and you don’t want the cake to overflow. The cake is done when it has risen and is set in the middle but still moist.
4. Let It Cool: Carefully remove the mug from the microwave (it will be hot). Let the mug cake sit for a minute before digging in. This helps it cool down a bit and makes it easier to enjoy.
Nutritional Benefits or Advantages
This Nutella Mug Cake offers a delightful mix of simple ingredients, keeping it guilt-free compared to more elaborate desserts. With this recipe, you benefit from a perfect portion size. Plus, Nutella adds a touch of hazelnut flavor along with some antioxidants from cocoa powder!
Tips, Variations, or Substitutions
– Gluten-Free Option: Substitute all-purpose flour with almond flour or gluten-free flour for a gluten-free mug cake!
– Dairy-Free Alternative: Use almond or oat milk instead of regular milk and enjoy a dairy-free dessert.
– Add-Ins: Consider mixing in some mini marshmallows, chocolate chips, or sprinkles for extra fun.
Common Mistakes to Avoid
– Over-microwaving: Keep an eye on the microwaving time to prevent a dry cake. It’s easy to set the timer and forget, but a minute is usually just right!
– Not Mixing Well: Ensure that you mix all the ingredients thoroughly to avoid flour pockets or lumps, which can ruin the texture.
Storage and Reheating Tips
Mug cakes are best enjoyed fresh. However, if you have leftovers (unlikely!), you can cover them and store them in the fridge for up to a day. To reheat, pop it back in the microwave for 15-20 seconds.
Conclusion
Now that you’ve found the ultimate Nutella Mug Cake recipe, it’s time to treat yourself to this quick and delicious dessert right at home! Whether you’re making it for yourself or impressing friends, this recipe guarantees satisfaction. Try it out, and don’t forget to share your delightful experience!
FAQs
1. Can I use a different type of mug?
Yes, any microwave-safe mug will work, but make sure it’s large enough to prevent overflow.
2. Can I double the recipe?
It’s best to make one mug cake at a time to ensure proper cooking, but you can prepare multiple mugs simultaneously if you’re feeling generous!
3. What can I substitute for Nutella?
If you want a different flavor, you can use peanut butter or another nut butter as a substitute.
4. How long will it stay fresh?
This mug cake is best enjoyed right away but can last up to one day in the refrigerator. Enjoy your baking!