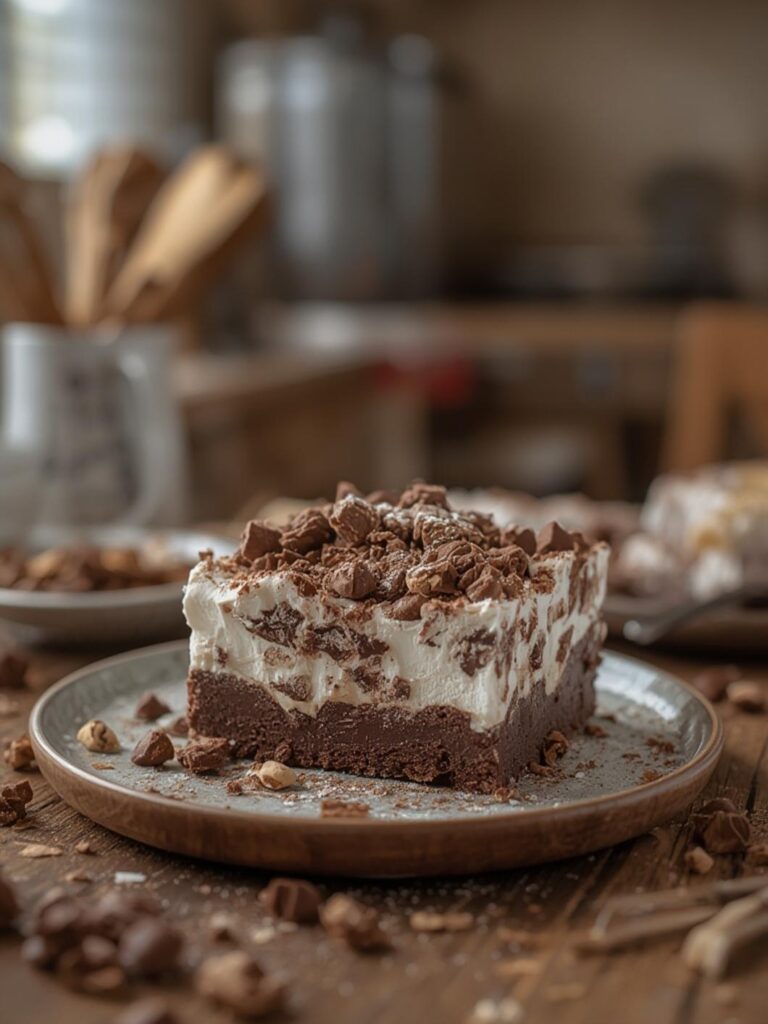
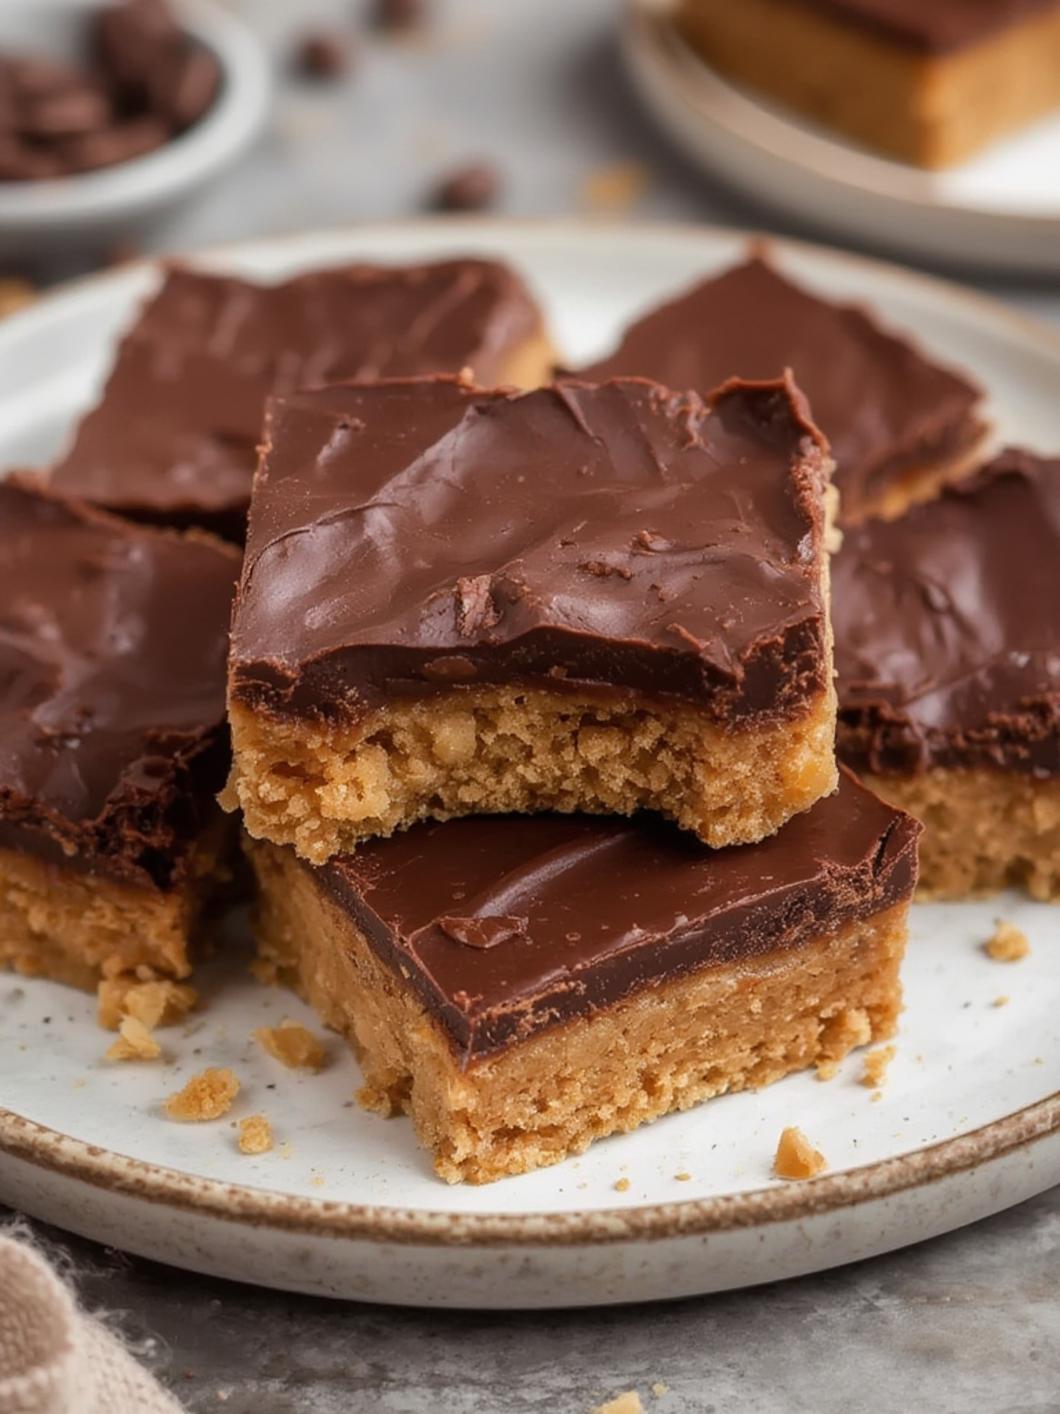
Easy Chocolate Peanut Butter Bars You’ll Love to Make
If you’re a fan of the irresistible combination of chocolate and peanut butter, you’re in for a treat! These Easy Chocolate Peanut Butter Bars are a delightful dessert that you can whip up in no time—without even turning on the oven. Perfect for family gatherings, movie nights, or midday snacks, these No-Bake Chocolate Peanut Butter Bars are sure to please everyone. Let’s dive into this simple recipe that requires just a handful of ingredients!
Ingredients & Kitchen Tools
Ingredients:
– 1 cup creamy peanut butter
– 1/2 cup honey or maple syrup
– 1 cup rolled oats (gluten-free if desired)
– 1/2 cup chocolate chips (dairy-free if preferred)
– 1 teaspoon vanilla extract
– A pinch of salt
Kitchen Tools:
– Medium mixing bowl
– 9×9 inch baking dish
– Parchment paper
– Rubber spatula or wooden spoon
– Microwave-safe bowl (for melting chocolate)
Prep & Cook Time
– Prep Time: 15 minutes
– Chill Time: 2 hours
– Total Time: 2 hours 15 minutes
Step-by-Step Instructions
1. Prepare the Baking Dish: Line a 9×9 inch baking dish with parchment paper, leaving some overhang for easy removal later.
2. Mix the Base: In a medium mixing bowl, combine the creamy peanut butter, honey (or maple syrup), and vanilla extract. Stir until completely blended.
3. Add the Dry Ingredients: Add the rolled oats and a pinch of salt to the mixture. Use a rubber spatula or wooden spoon to mix until evenly distributed.
4. Transfer to the Baking Dish: Spoon the mixture into the prepared baking dish, spreading it evenly. Press down firmly to create a compact layer.
5. Melt the Chocolate: In a microwave-safe bowl, melt the chocolate chips in the microwave in 30-second increments, stirring between each interval until smooth.
6. Spread the Chocolate: Pour the melted chocolate over the peanut butter mixture and spread it evenly with a spatula.
7. Chill: Place the dish in the refrigerator for at least 2 hours until the bars are firm.
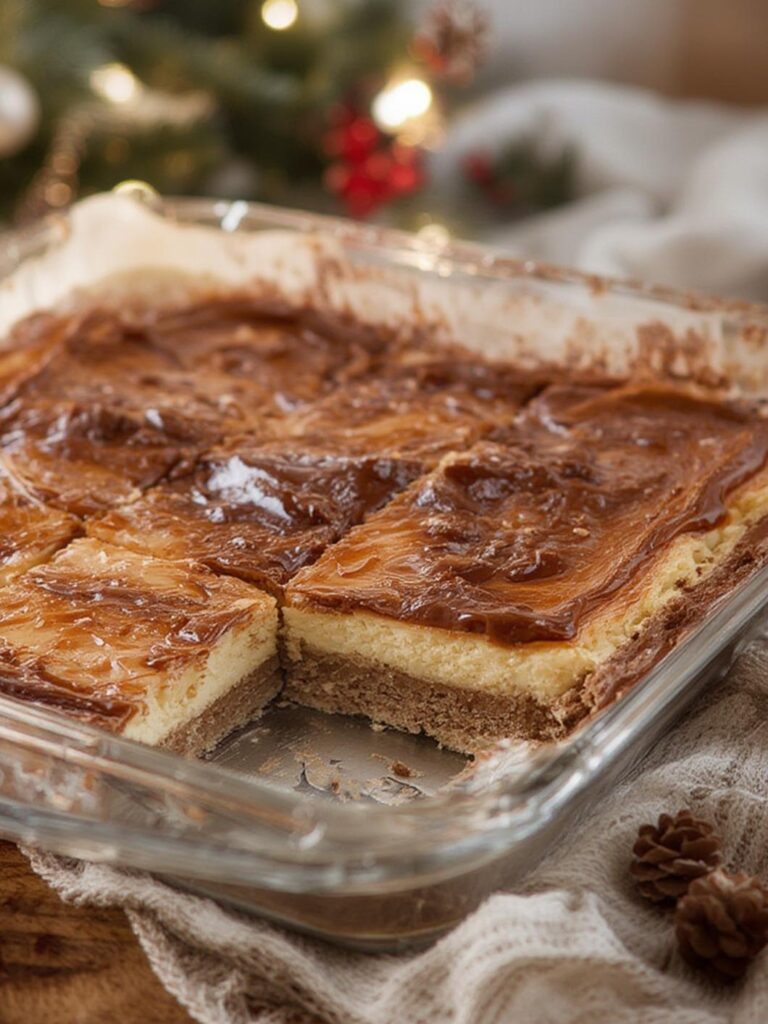
8. Slice and Serve: Once set, remove the bars from the dish using the parchment overhang. Cut into squares and enjoy your delectable Chocolate Peanut Butter Bars!
Nutritional Benefits or Advantages
These bars are packed with protein from the peanut butter and healthy fats, making them a nutritious snack option. The rolled oats provide fiber, promoting digestive health, while honey adds a natural sweetness that’s lower on the glycemic index than processed sugars.
Tips, Variations, or Substitutions
– Nut Options: Feel free to swap peanut butter for almond or cashew butter depending on your taste preferences.
– Sweetener Choices: Maple syrup can be used as a vegan-friendly alternative to honey for a different flavor profile.
– Toppings: Add crushed nuts, seeds, or shredded coconut on top before chilling for extra texture.
– Chocolate Type: Dark chocolate can be used for a richer flavor while maintaining a deliciously sweet balance.
Common Mistakes to Avoid
– Not Pressing Down Firmly: Make sure to press the mixture down firmly in the baking dish; otherwise, the bars may crumble when cut.
– Overheating the Chocolate: Be careful not to overheat the chocolate to prevent it from seizing. Melt it gradually for the best results.
Storage and Reheating Tips
Store your Chocolate Peanut Butter Bars in an airtight container in the refrigerator for up to a week. They can also be frozen for up to three months. Just remember to separate layers with parchment paper to prevent sticking.
Conclusion with Call-to-Action
These No-Bake Chocolate Peanut Butter Bars are not only easy to make but also a satisfying treat that everyone will love. Whether you’re looking for a quick dessert or a healthy snack, these bars are sure to hit the spot. Give this recipe a try and let me know how you enjoyed it! Don’t forget to share your creations with friends and family!
FAQs
1. Can I use crunchy peanut butter instead of creamy?
Yes! Crunchy peanut butter adds a delightful texture.
2. How long do these bars last?
In the refrigerator, they can last up to one week.
3. Can I make these vegan?
Absolutely! Use maple syrup and dairy-free chocolate chips.
4. What is the best way to store leftovers?
Store in an airtight container in the refrigerator or freezer for longer shelf life.