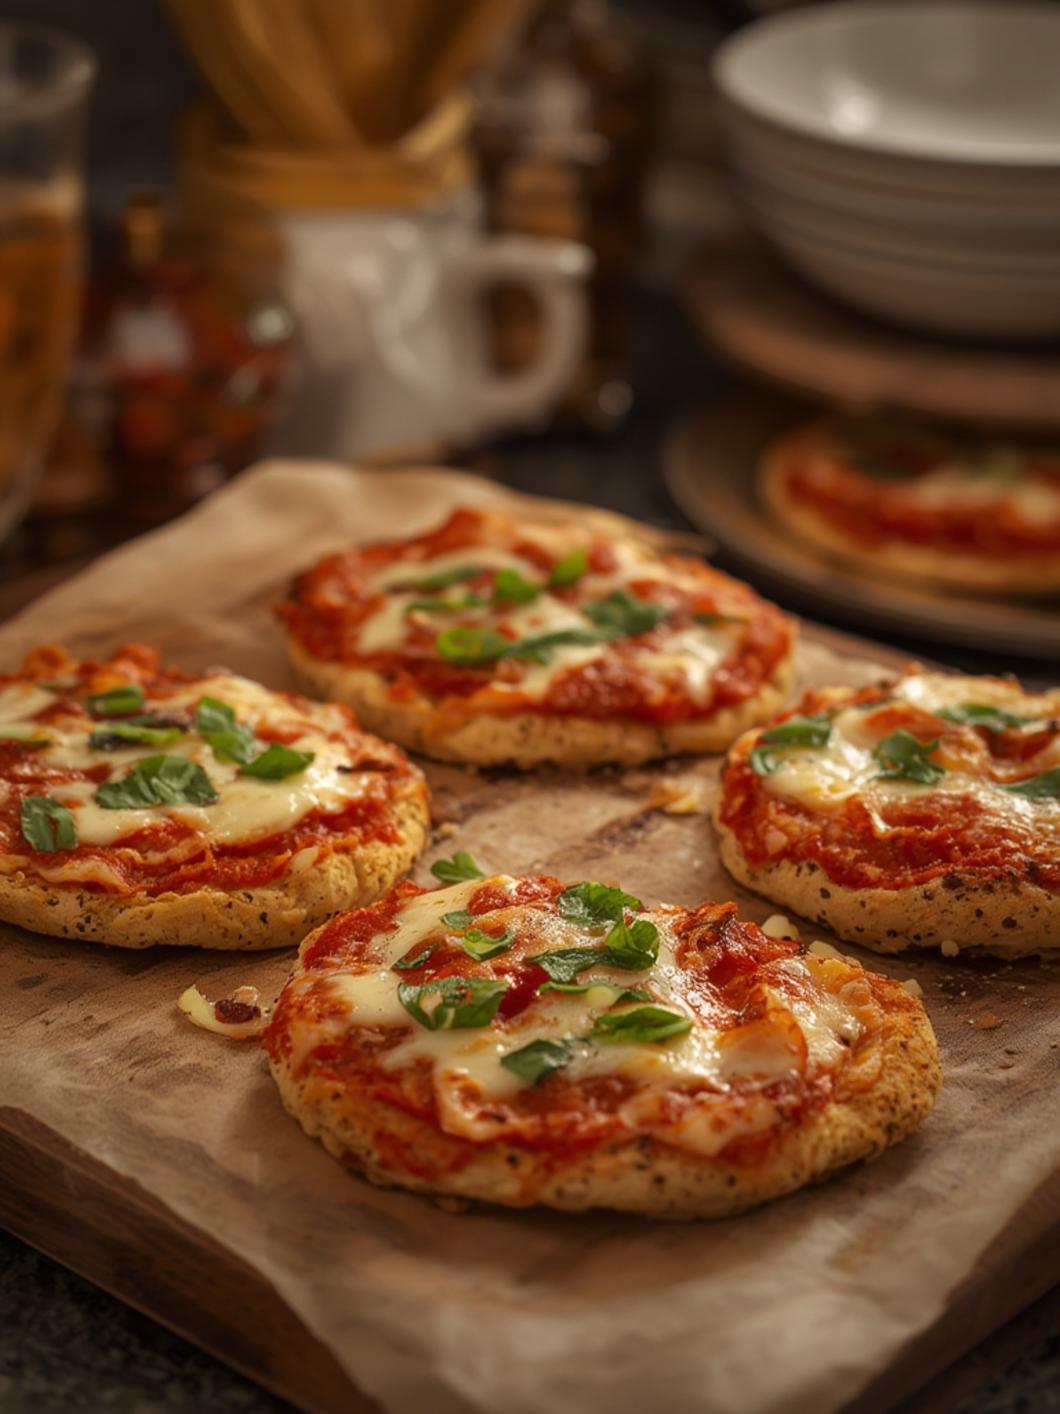
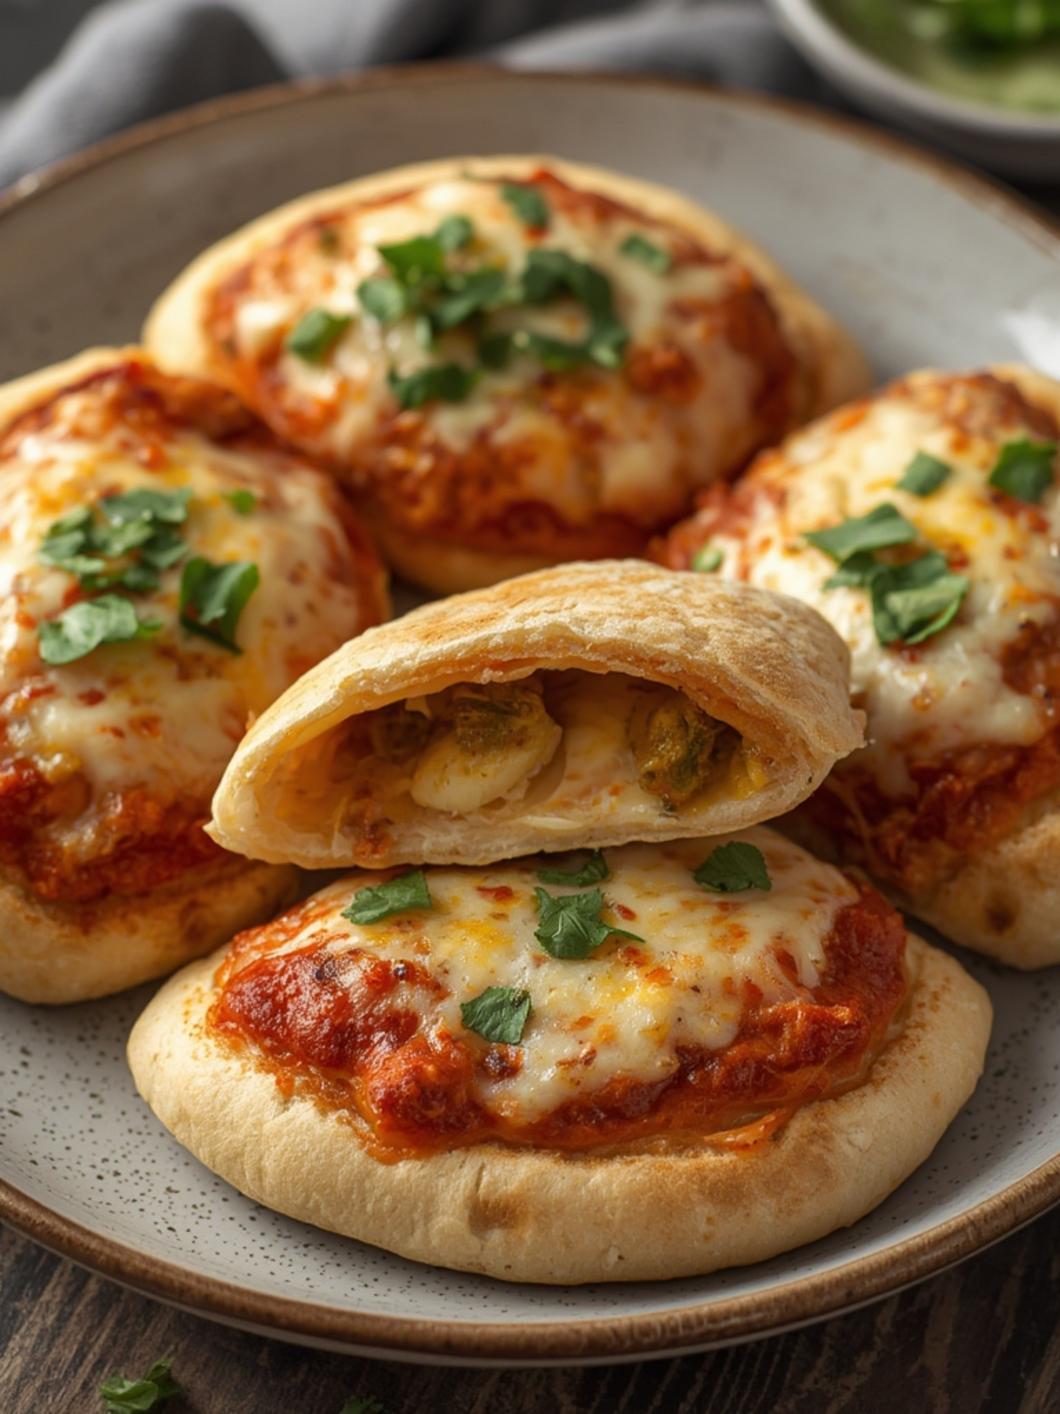
Easy Pita Pocket Pizzas for Quick Homemade Meals
Are you looking for a quick, fun, and delicious way to enjoy pizza at home? Look no further than easy pita pocket pizzas! These delightful creations are not only simple to make but also customizable to satisfy even the pickiest eaters. Whether it’s for lunch, dinner, or a fun snack, pita bread pizza brings a little joy to any mealtime.
Ingredients & Kitchen Tools
Here’s what you’ll need to whip up your own pita pocket pizzas:
Ingredients:
– 4 whole wheat or white pita breads
– 1 cup pizza sauce
– 1 cup shredded mozzarella cheese
– 1 cup assorted toppings (such as bell peppers, onions, mushrooms, olives, and cooked chicken)
– 1 teaspoon Italian seasoning (optional)
– Salt and pepper to taste
– Olive oil (for brushing)
Kitchen Tools:
– Baking sheet
– Parchment paper (optional)
– Oven or toaster oven
– Knife and cutting board
– Spoon for spreading sauce
Prep & Cook Time
– Prep Time: 10 minutes
– Cook Time: 10-15 minutes
– Total Time: 20-25 minutes
Step-by-Step Instructions
1. Preheat the Oven: Begin by preheating your oven to 400°F (200°C). This creates the perfect crispy base for your pita pocket pizzas.
2. Prepare the Pita Pockets: Place the pita breads on a baking sheet lined with parchment paper. If you don’t have parchment, a greased baking sheet will work just fine.
3. Spread the Sauce: Evenly spread about two tablespoons of pizza sauce on each pita bread. Make sure to cover the entire surface for maximum flavor.
4. Add Cheese: Top each with a generous handful of shredded mozzarella cheese. Don’t be shy; cheese is what makes it pizza!
5. Select Your Toppings: Add your preferred toppings. This could be a mix of vegetables like bell peppers and onions, or proteins such as cooked chicken. Feel free to get creative!
6. Season It Up: Sprinkle Italian seasoning, salt, and pepper over the toppings to enhance the flavor.
7. Drizzle with Olive Oil: A light brushing of olive oil on the edges of the pita can help achieve a golden-brown crust.
8. Bake: Place the baking sheet in the oven and bake for 10-15 minutes or until the cheese is bubbly and slightly golden.
9. Cool and Serve: Remove from the oven, let them cool for a couple of minutes, slice, and enjoy your homemade pita pocket pizzas.
Nutritional Benefits or Advantages
Pita bread is a fantastic base for your pizza as it is lower in calories than regular pizza dough and contains whole grains, giving you more fiber. Topped with a variety of vegetables and lean proteins, these pita bread pizzas provide a well-rounded meal that satisfies hunger without excess calories.
Tips, Variations, or Substitutions
– For a Healthier Option: Use low-fat cheese and add more veggies to boost nutrition.
– Spice It Up: Incorporate some red chili flakes or jalapeños for those who enjoy a little heat.
– Mix and Match: Try different sauces like pesto or barbecue sauce for a twist on the traditional pizza flavor.
Common Mistakes to Avoid
– Overloading Toppings: Too many toppings can lead to soggy pizzas; less is often more!
– Underbaking: Make sure the cheese is fully melted and the edges are crispy for the best texture.
Storage and Reheating Tips
Store any leftover pita pocket pizzas in an airtight container in the refrigerator for up to 3 days. To reheat, simply pop them back in the oven at 350°F (175°C) for about 5-7 minutes until warmed through and crispy again.
Conclusion
Pita pocket pizzas are the perfect solution for quick, easy, and satisfying homemade meals. Whether you’re cooking for yourself or feeding a crowd, these customizable pizzas are sure to please everyone. Why not give your own pita pocket pizzas a try today? You won’t be disappointed!
FAQs
Can I use frozen pita bread for this recipe?
Yes, frozen pita works well; just thaw it before baking.
What’s the best way to reheat leftovers?
Reheat in the oven for the best texture, rather than the microwave, which can make them soggy.
Can I prepare the toppings in advance?
Absolutely! Prep your toppings ahead of time to make assembly faster.
Are these pizzas suitable for kids?
Yes! Kids love customizing their own toppings, making it a fun meal for all ages.