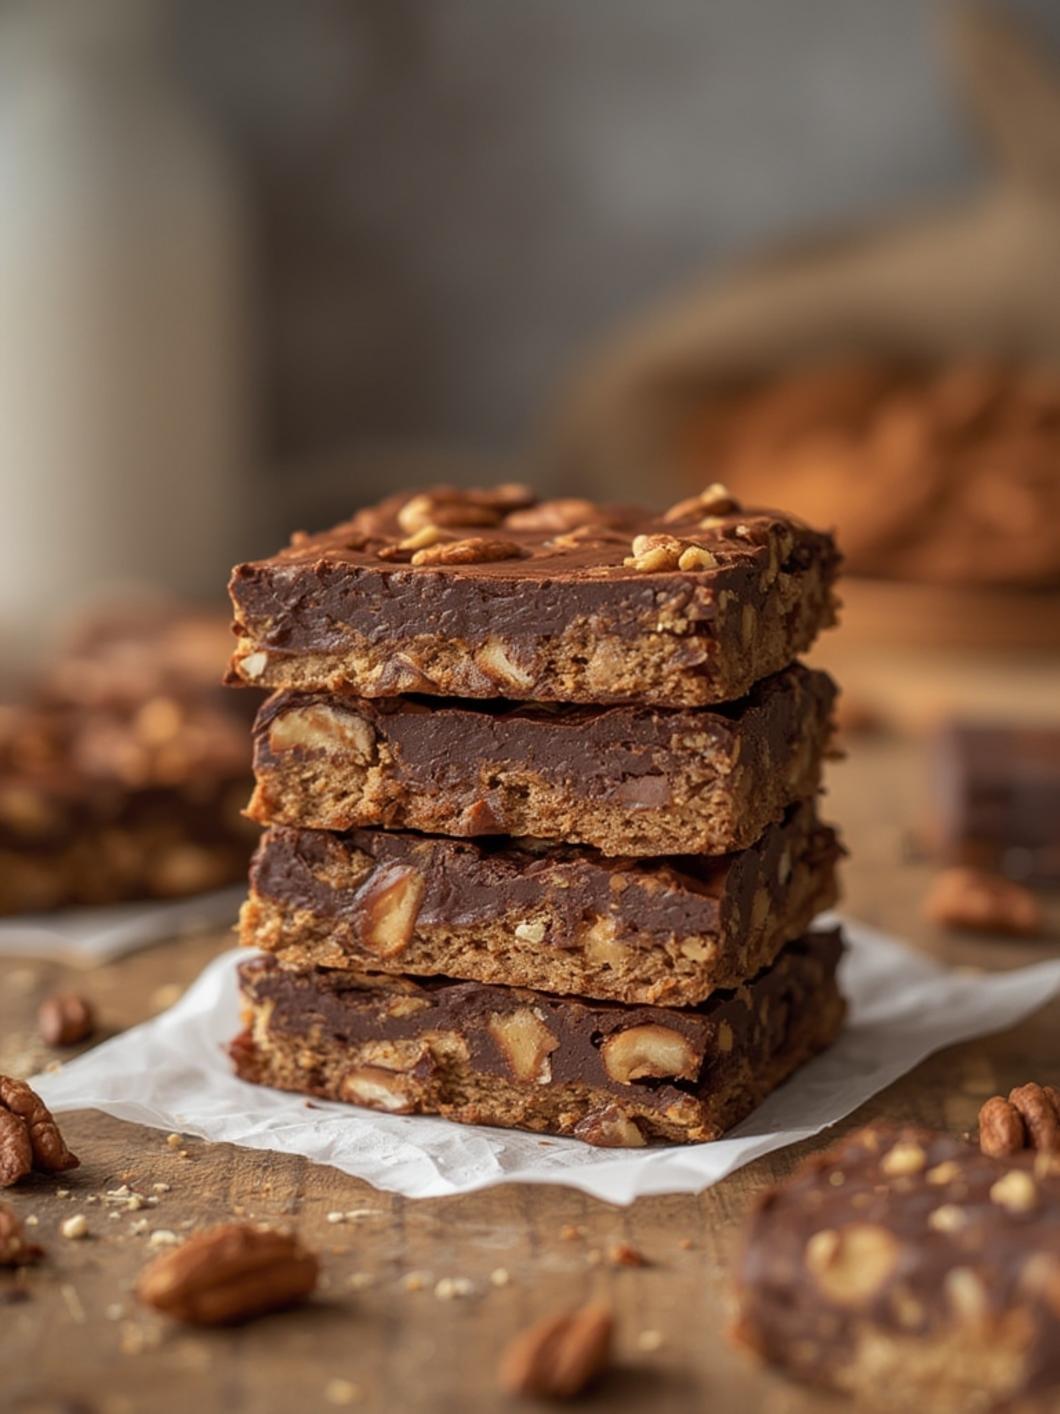
Easy No-bowl Chocolate Nut Bars in 10 Minutes or Less
Are you in need of a quick and satisfying treat that requires no mixing bowl and minimal effort? Look no further! These Easy No-bowl Chocolate Nut Bars come together in just 10 minutes, offering the perfect blend of rich chocolate and crunchy nuts. Perfect for entrees and snacking, these delicious homemade chocolate snack bars will quickly win over even the pickiest eaters in your family.
Ingredients & Kitchen Tools
– Ingredients:
– 1 ½ cups mixed nuts (almonds, walnuts, pecans)
– 1 cup pitted dates
– ½ cup cocoa powder
– ½ cup unsweetened nut butter (almond or peanut)
– 2 tablespoons honey or maple syrup
– A pinch of sea salt
– Optional: ½ teaspoon vanilla extract
– Optional: 1/4 cup dark chocolate chips
– Kitchen Tools:
– Food processor
– Baking pan (8×8 inches)
– Parchment paper
– Spatula
Prep & Cook Time
– Preparation Time: 5 minutes
– Chill Time: 5 minutes
– Total Time: 10 minutes
Step-by-Step Instructions
1. Prepare Your Pan: Start by lining an 8×8-inch baking pan with parchment paper, ensuring there’s enough overhang to make it easy to lift the bars out later.
2. Blend the Nuts: In a food processor, add the mixed nuts and pulse them until coarsely chopped. You want a nice texture but be careful not to turn them into nut butter.
3. Add Dates and Ingredients: Toss in the pitted dates, cocoa powder, nut butter, honey (or maple syrup), and sea salt. If you’re using vanilla extract and chocolate chips, add them now. Pulse the mixture until it forms a sticky, dough-like consistency.
4. Press the Mixture into the Pan: Transfer the mixture to the prepared baking pan. Use a spatula to press it down firmly and evenly. The firmer you press, the better the bars will hold together.
5. Chill and Set: Place the pan in the fridge for at least 5 minutes to let the bars firm up. This step is crucial for achieving the perfect texture.
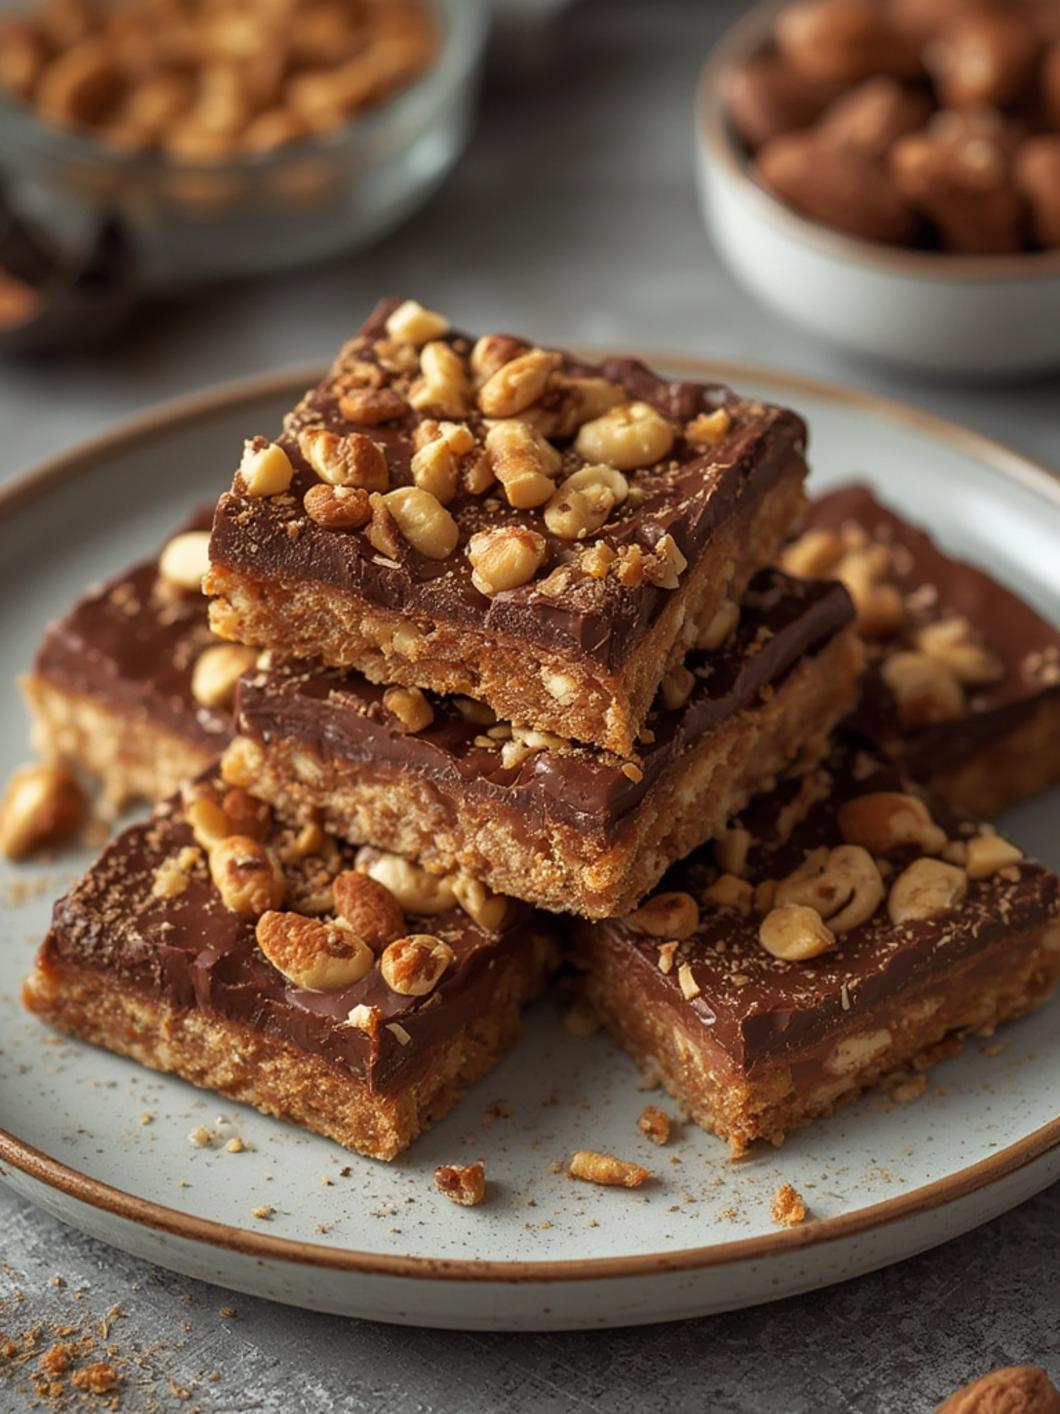
6. Slice and Serve: Once chilled, remove the mixture from the pan using the parchment paper overhang. Use a sharp knife to cut into bars or squares. Enjoy your no-bowl chocolate nut bars as a delightful chocolate snack!
Nutritional Benefits or Advantages
These no-bowl chocolate nut bars are not only quick to make, but they also pack a nutritional punch. Nuts provide healthy fats and protein, while dates serve as a natural sweetener full of fiber. Cocoa powder is rich in antioxidants, making these bars both delicious and beneficial for your health!
Tips, Variations, or Substitutions
– Nut Options: Feel free to mix and match your favorite nuts. Cashews or hazelnuts work well too.
– Sweetness Level: Adjust the sweetness by adding more or less honey or maple syrup based on your preference.
– Add-ins: Include seeds like chia or flaxseed for extra nutrition.
Common Mistakes to Avoid
1. Over-processing Nuts: Be careful not to blend the nuts too finely; you want some crunch.
2. Not Packing Firmly Enough: Failing to press the mixture firmly can result in crumbly bars that fall apart easily.
3. Skipping Chill Time: Don’t skip the chilling step; it allows the mixture to set properly.
Storage and Reheating Tips
Store any leftover bars in an airtight container. These bars can be kept in the refrigerator for up to a week or in the freezer for a longer shelf life.
Conclusion
Now that you know how to whip up these Easy No-bowl Chocolate Nut Bars, it’s time to give them a try! They’re an ideal chocolate snack bars option for quick energy boosts or healthy dessert cravings. Give this recipe a whirl and share your thoughts in the comments below!
FAQs
1. Can I use different types of nuts?
Absolutely! Feel free to use any nuts you prefer or even seeds for a nut-free version.
2. How do I make these bars vegan?
You can use maple syrup instead of honey and ensure your nut butter is also vegan.
3. Can I add protein powder to the mix?
Yes! Adding protein powder can enhance the nutrient content; just be sure to adjust the sweetness.
4. How thick should I press the mixture?
Aim for about 1 inch thick for the best balance of texture and firmness.