Quick Frozen Yogurt Bark with 3 Ingredients
Introduction
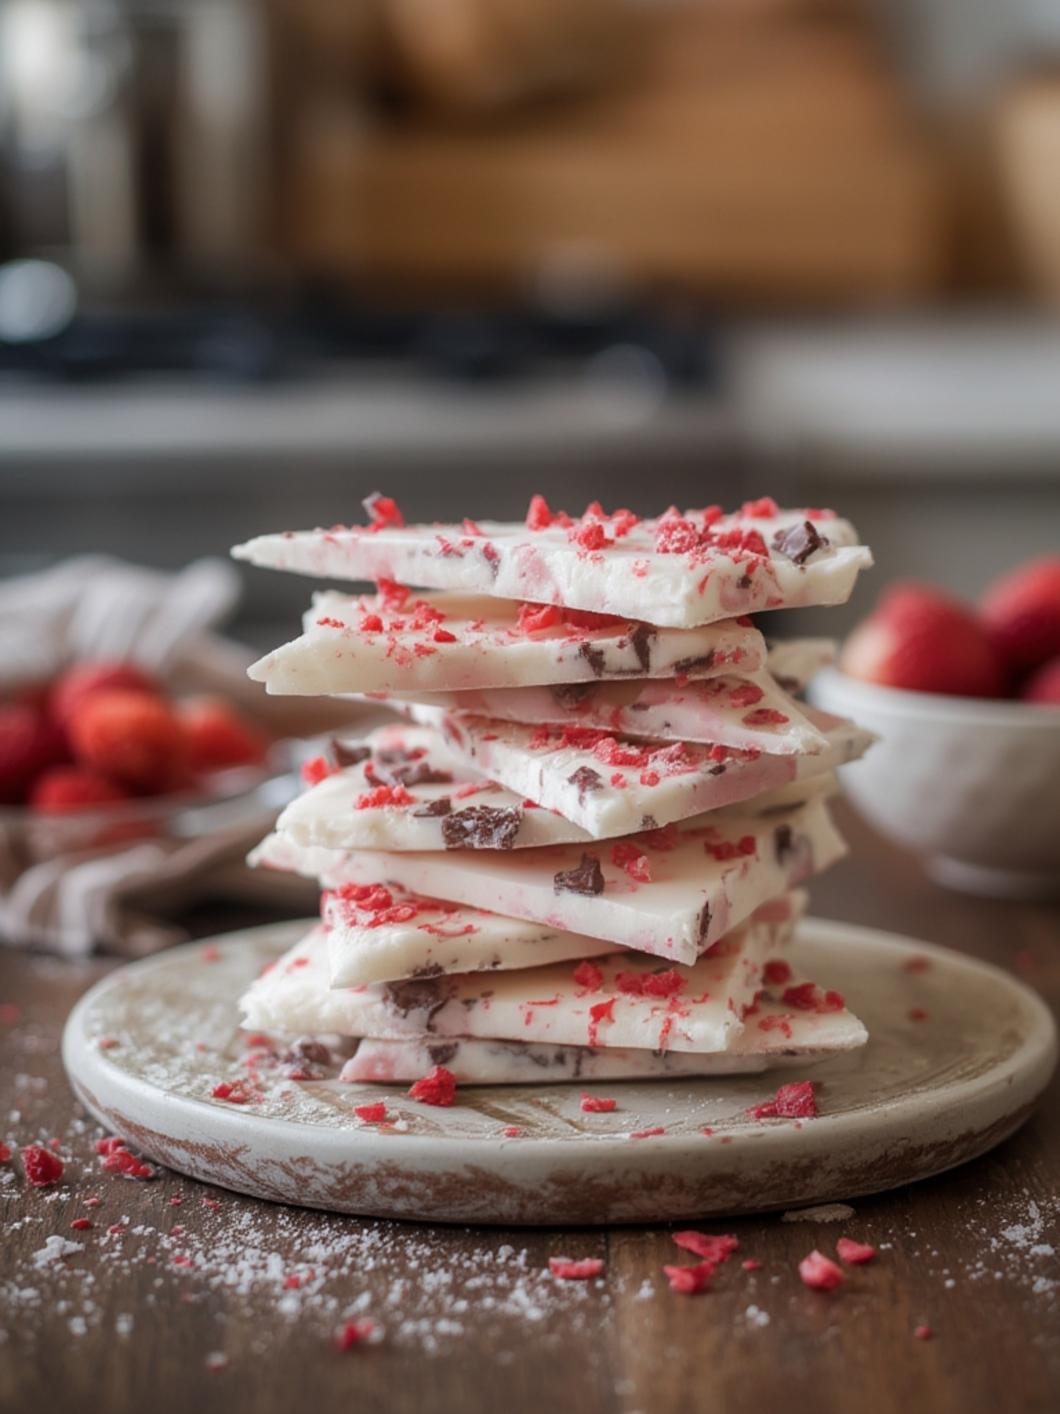
If you’re craving a cool and creamy treat without the guilt, you’re in the right place! This quick Frozen Yogurt Bark is a delightful snack that will satisfy your sweet tooth while keeping things healthy. With just three simple ingredients, you can whip up a delicious dessert that’s not only easy to make but also a breeze to customize. Let’s dive into this tasty recipe and discover how this healthy frozen yogurt bark can become your go-to summer treat!
Ingredients & Kitchen Tools
Ingredients
– 2 cups plain Greek yogurt (or your favorite flavored yogurt)
– 1-2 tablespoons honey or maple syrup (adjust based on sweetness preference)
– 1 cup mixed berries (fresh or frozen)
Kitchen Tools
– Baking sheet or rimmed tray
– Parchment paper
– Mixing bowl
– Spatula
– Freezer
Prep & Cook Time
– Prep Time: 10 minutes
– Freeze Time: 2-3 hours
– Total Time: 2 hours 10 minutes
Step-by-Step Instructions
1. Prepare the Baking Sheet: Line your baking sheet or rimmed tray with parchment paper. This will prevent the yogurt from sticking and make it easy to remove once frozen.
2. Mix the Yogurt: In a mixing bowl, combine the Greek yogurt with honey or maple syrup. Stir well until fully blended. Adjust the sweetness as needed.
3. Spread the Yogurt: Pour the yogurt mixture onto the prepared baking sheet. Use a spatula to spread it evenly to about 1/2 inch thick.
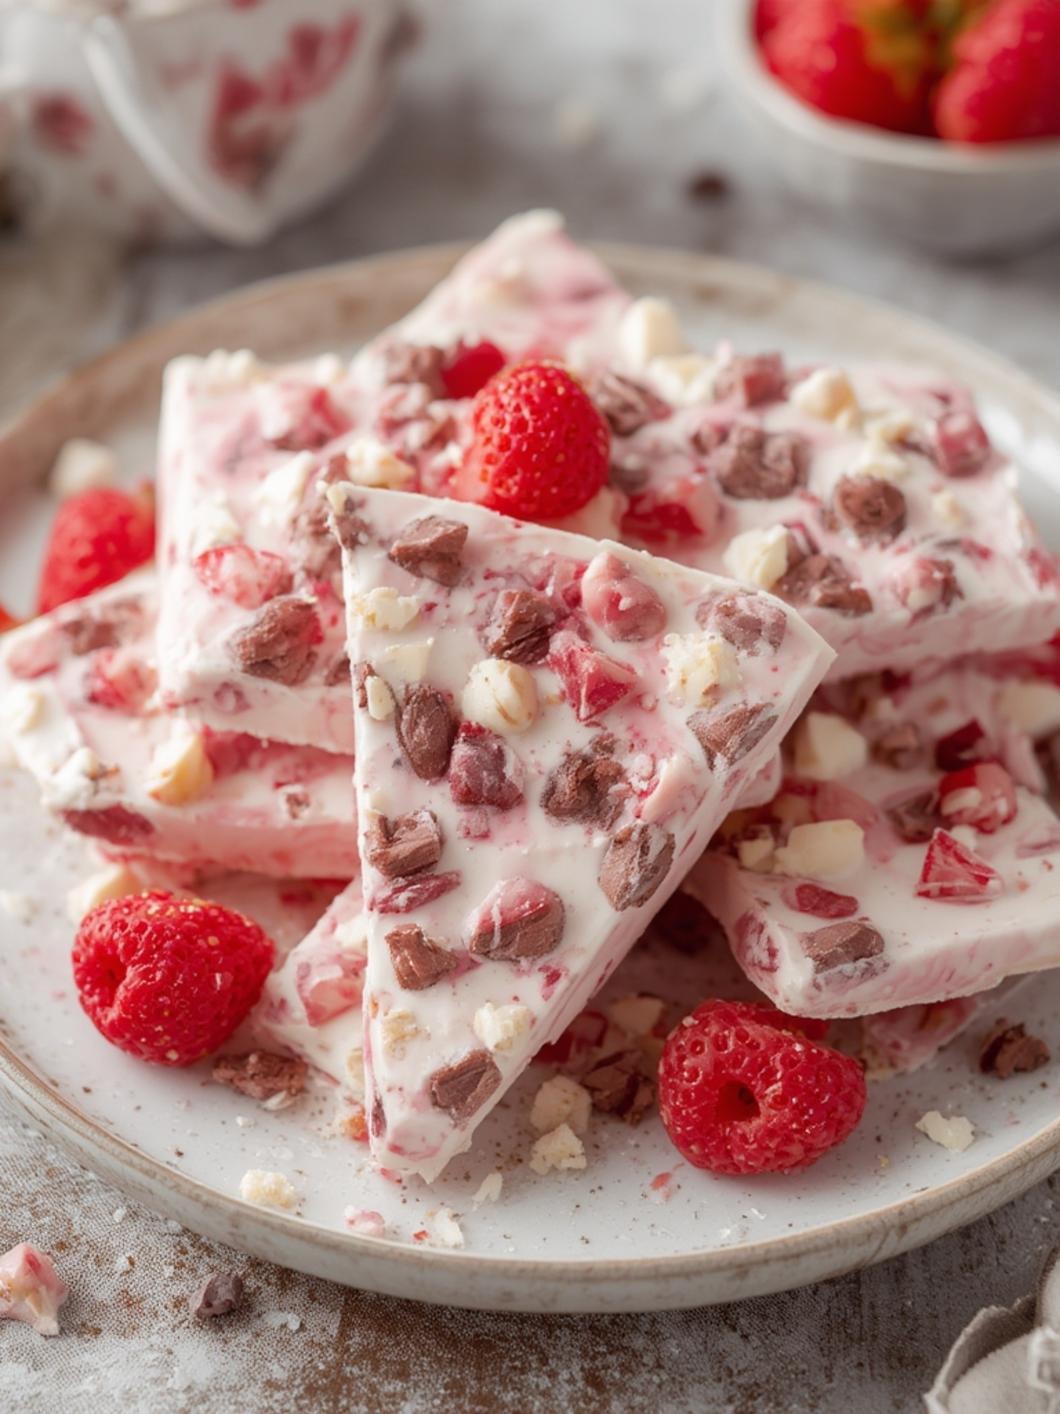
4. Add the Toppings: Sprinkle the mixed berries over the yogurt layer. Feel free to get creative with additional toppings such as nuts, granola, or chocolate chips.
5. Freeze: Place the baking sheet in the freezer for 2-3 hours, or until the yogurt bark is firm.
6. Cut and Serve: Once frozen, remove the sheet from the freezer. Use a sharp knife or your hands to break or cut the yogurt bark into pieces. Enjoy your homemade treat!
Nutritional Benefits or Advantages
This healthy frozen yogurt bark recipe is packed with nutrients. Greek yogurt is a great source of protein and probiotics, which can aid in digestion. Berries are loaded with antioxidants, vitamins, and minerals, making them an excellent addition for a nutritious boost. Enjoying this treat guilt-free means you can indulge in a refreshing dessert that’s both satisfying and nourishing.
Tips, Variations, or Substitutions
– Yogurt Alternatives: If you prefer dairy-free options, try using almond or coconut yogurt.
– Toppings Galore: Experiment with different fruits like bananas, mangoes, or even a sprinkle of coconut flakes for added texture and flavor.
– Add Crunch: For added crunch, incorporate chopped nuts or granola before freezing.
Common Mistakes to Avoid
– Too Thin: Make sure to spread your yogurt mixture evenly and thick enough; if it’s too thin, it may freeze too hard and be difficult to break apart.
– Skipping the Freezer Time: Don’t rush the freezing process! Allow at least 2-3 hours for the best texture.
Storage and Reheating Tips
To store your frozen yogurt bark, place it in an airtight container separated by parchment sheets to prevent sticking. It can last in the freezer for up to a month, perfect for grabbing a quick snack on hot days. There’s no need to reheat—simply enjoy it straight from the freezer!
Conclusion
Now that you’ve mastered this quick frozen yogurt bark recipe, you can indulge in a refreshing, healthy snack anytime! Mixing flavors and experimenting with toppings is part of the fun, so don’t hesitate to make this recipe your own. Remember to share this recipe with friends and family so they can enjoy this delightful treat too!
FAQs
1. Can I use flavored yogurt for this recipe?
Absolutely! Using flavored yogurt will add an extra layer of sweetness and flavor to your frozen yogurt bark.
2. How do I prevent the bark from sticking to the parchment paper?
Using parchment paper is key, but lightly greasing it with non-stick spray can provide added protection.
3. Is this recipe suitable for kids?
Yes! This healthy frozen yogurt bark is a fun and nutritious treat for kids and a great way to introduce them to healthy snacks.
4. Can I make this ahead of time for a party?
Definitely! Prepare it a couple of days in advance and store it in the freezer until you’re ready to serve.